


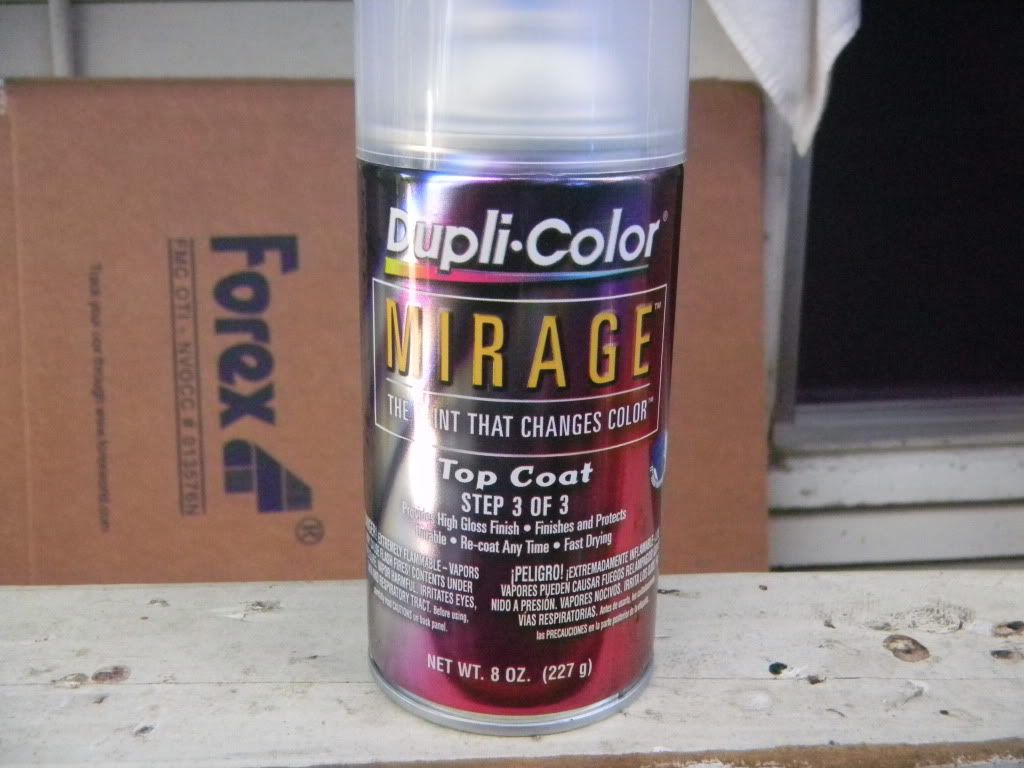
Well I got the crazy idea on painting my valve cover on my car and looked up a "how to" myself...the guy's "how to" looked like it would work his way, but since I wanted something new I thought I would experiment and do a little write-up myself...I wanted to paint my valve cover with that Duplicolor Mirage paint but faced the fact that it’s NOT heat resistant...it can only withstand heat up to 120F...the valve cover gets around +200F...so there laid my problem...with the heat, the paint would crack and peel right off the valve cover...so my proposed solution to this was to lay a heat resistant primer, which can withstand 500F, then the paint, then hit it up with a heat resistant clear coat...i haven't installed it on my car and really tested it heat resistance but im sure that it will hold strong...so below is my entire "how to" and hope you enjoy the read...i'll update this once i have installed it and driven for a while to see if it really holds strong...
Items Needed:
-Paint stripper
-Heavy duty gloves
-Brush
-Scraper
-Power drill
-Wire brush
-Acetone
-Heat resistant primer
-Air compressor
-Paint
-Heat resistant clear
-Nice working area
-Patience
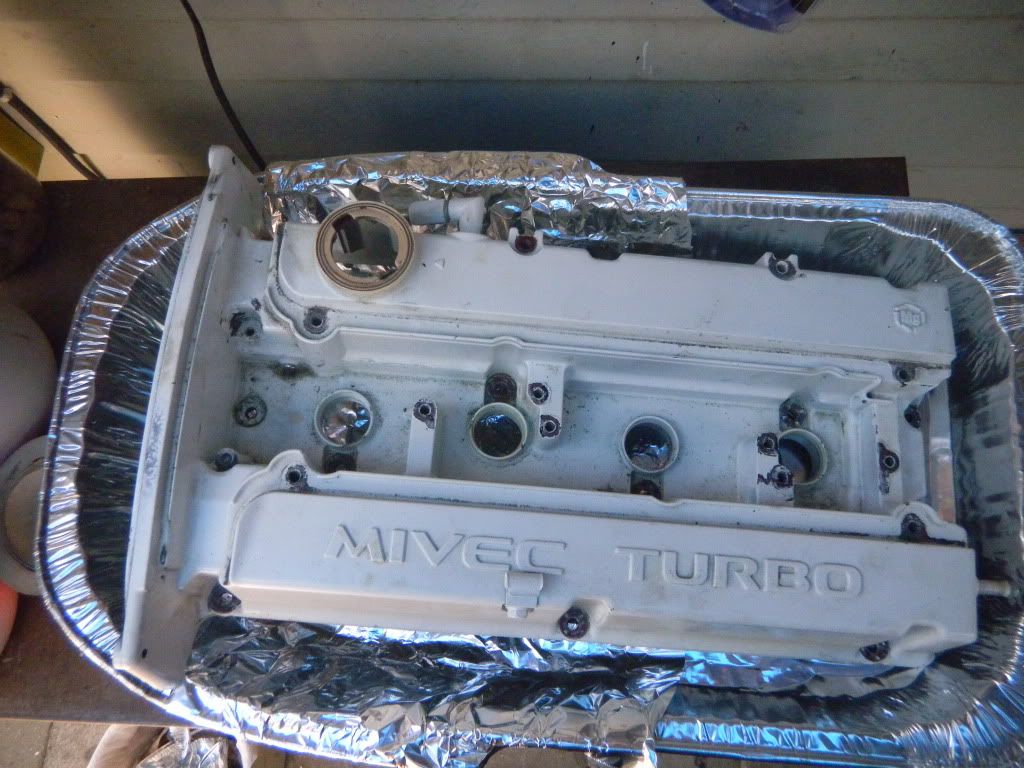
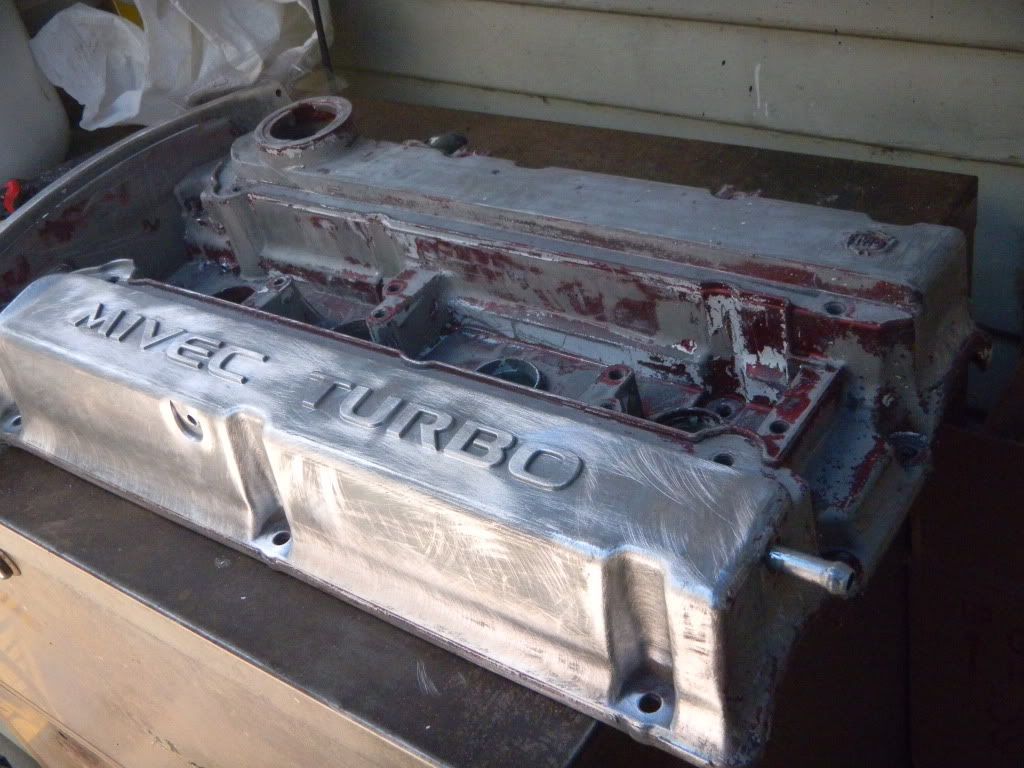
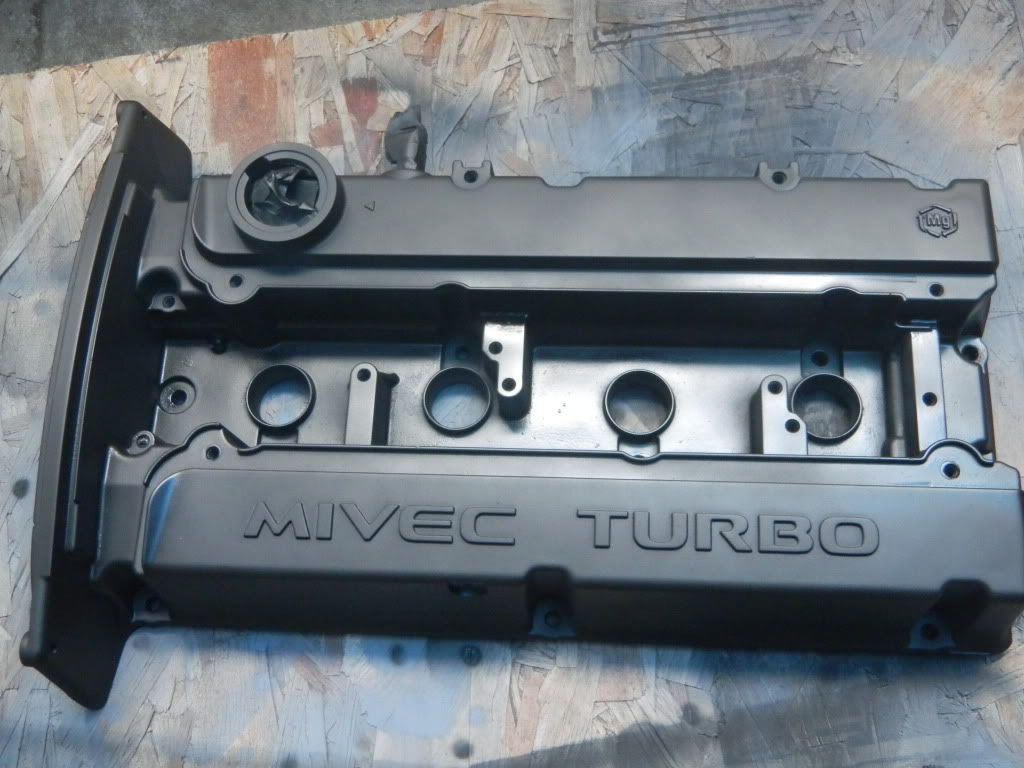
1. I bought this valve cover off a member here. I didn't want to take mine off cuz I knew this project was going to take a long time to get done. As you can see, the valve cover was previously painted white. The previous owner claimed it was painted with a heat resistant paint and then it started to blister.
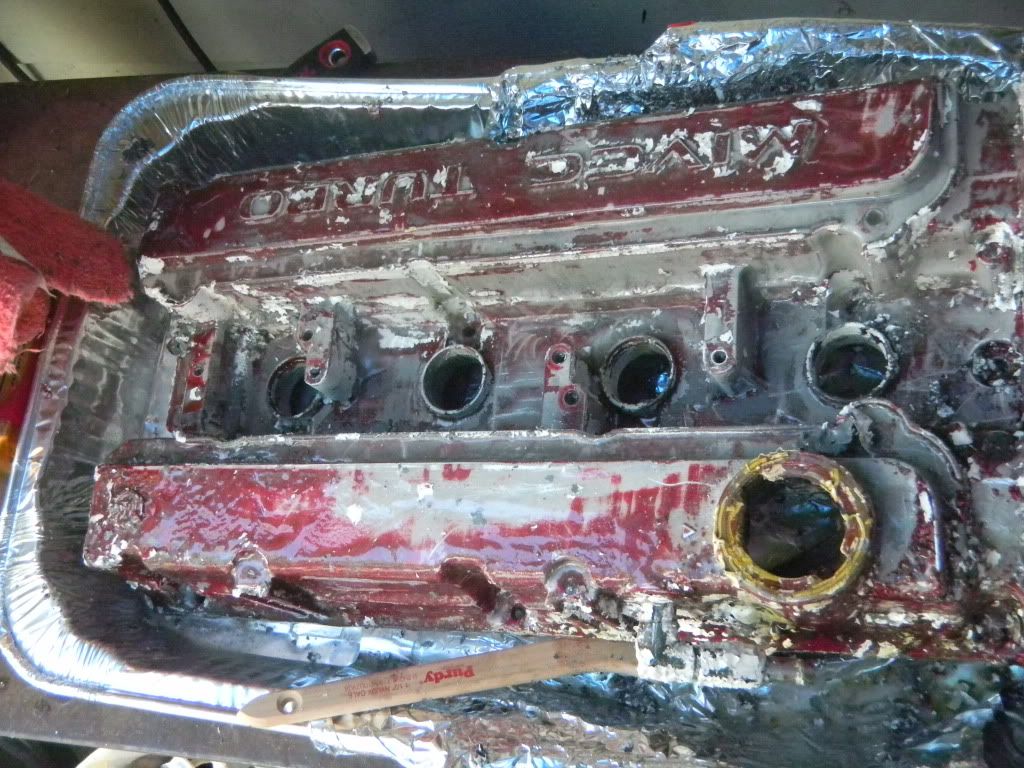
2. Get yourself some paint stripper and brush it on the valve cover, completely covering it. Let it sit for about 10-15 minutes and do its job.
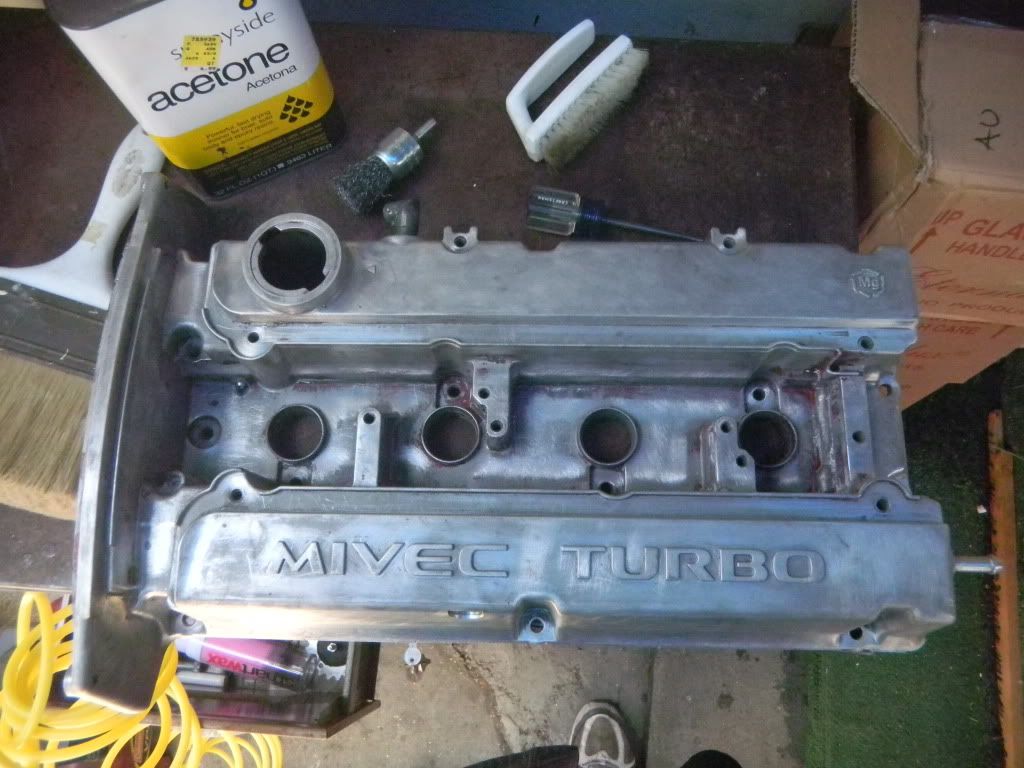
3. After the paint starts to flake off, get the scrapper and begin to take off the paint. Don’t struggle to get every single bit of paint off at this moment.�* Rinse the valve cover and get the residue off.
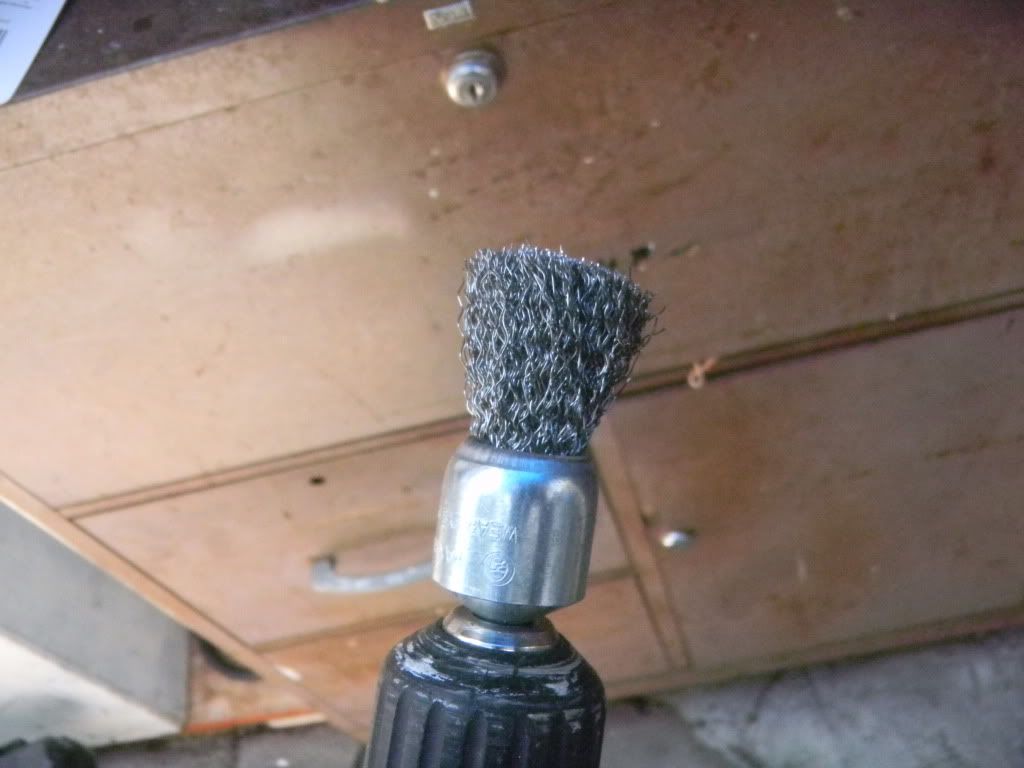
4. Get the wire brush ant attach it to the drill. Brush off any leftover paint until you get down to the metal. Try and get most of it out. I left some in places where it didn’t matter.
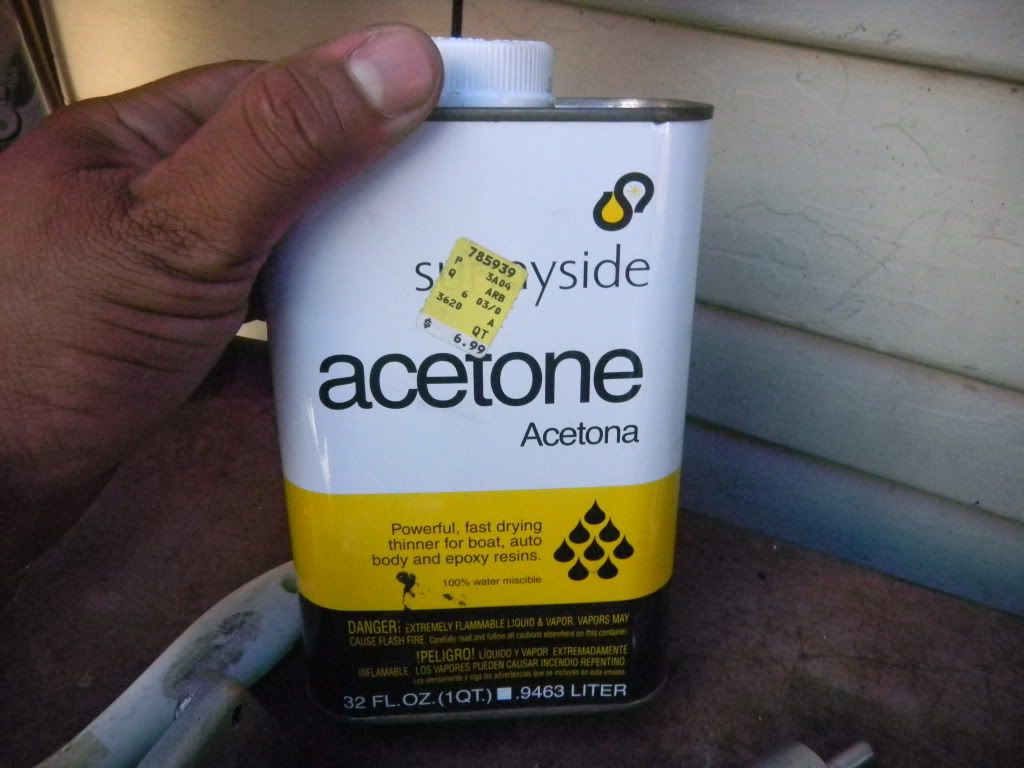
5. Rinse all the dust off. Hit it up with the compressor to get it all dry. Prep the valve cover for paint by giving it a quick pass with acetone to get rid of any chemicals that are on the surface. Cover any areas that you don’t want to get painted.
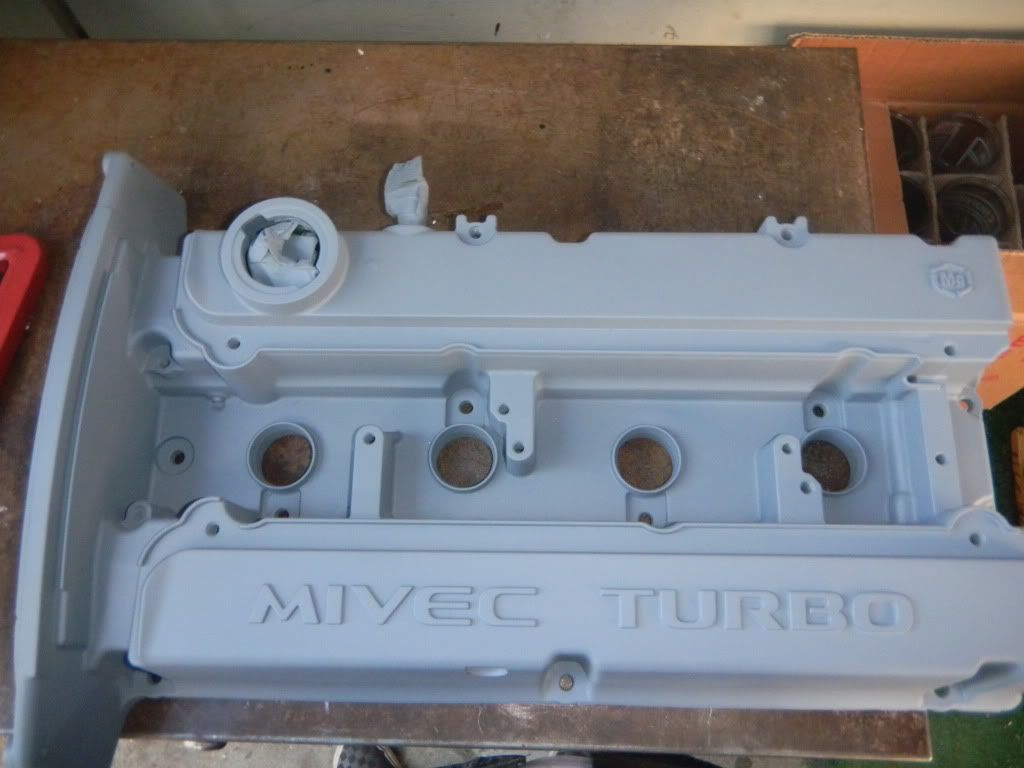
6. There are special instructions when using enamel paint that must be followed for it to work properly. When applying the primer enamel, it should be applied in thin coats, so it doesn’t drip. Every coat must be applied every 10 minutes. All coats must be applied within 1hr. Once all the coats are applied, it must cure for an entire week.
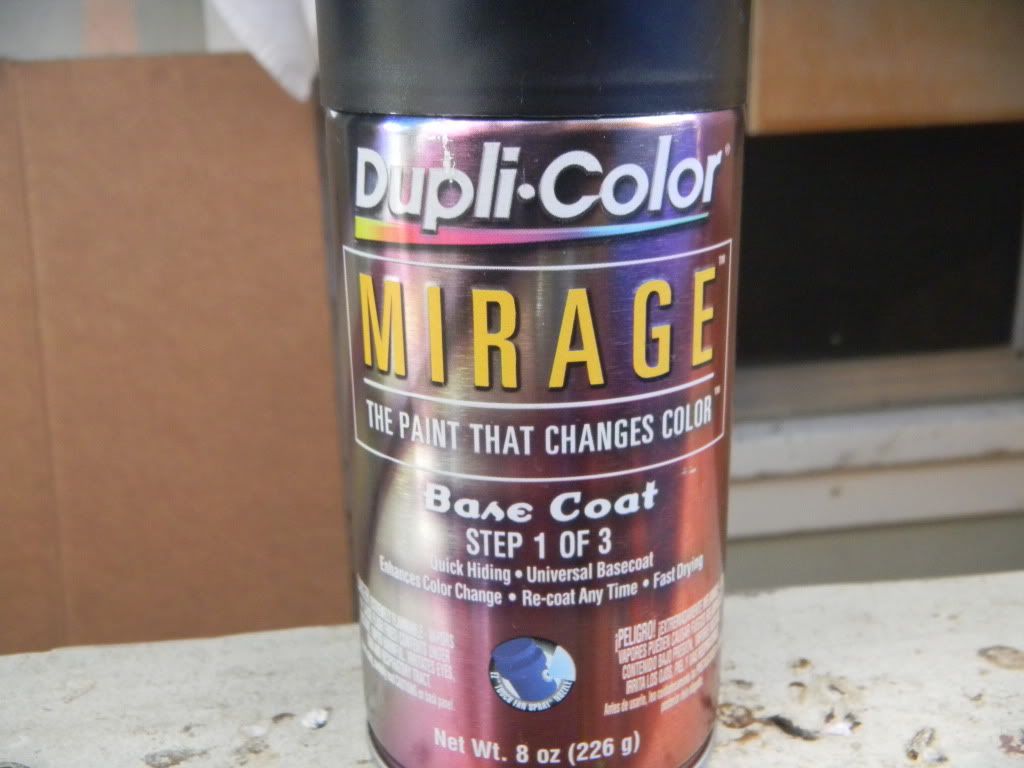
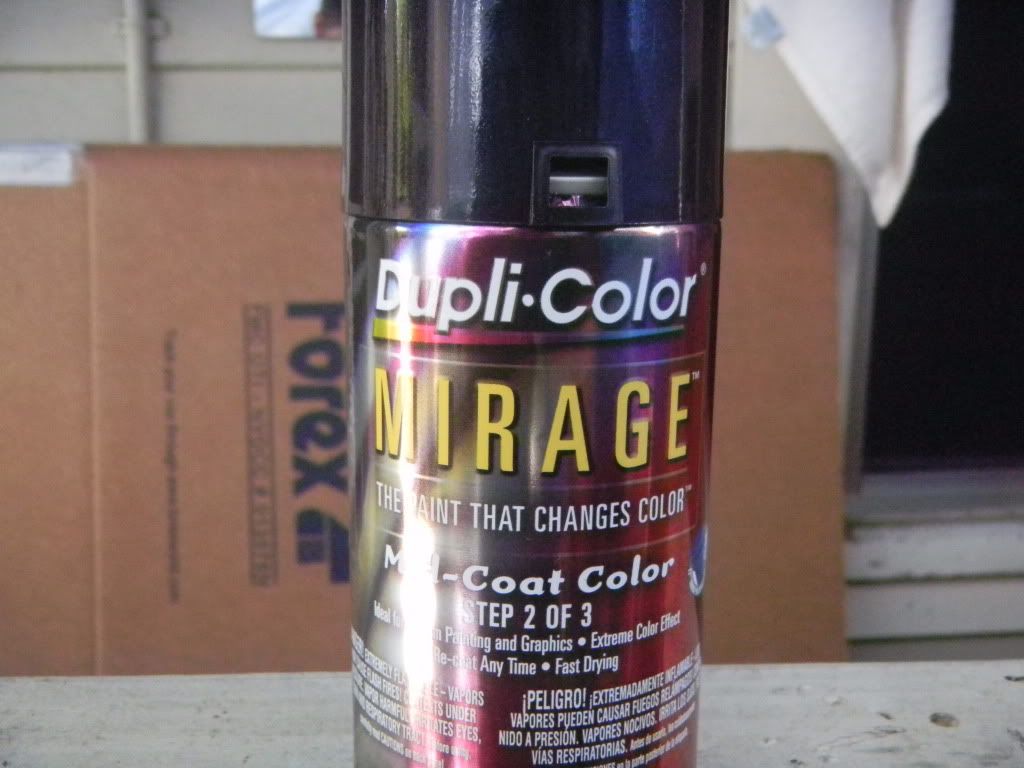
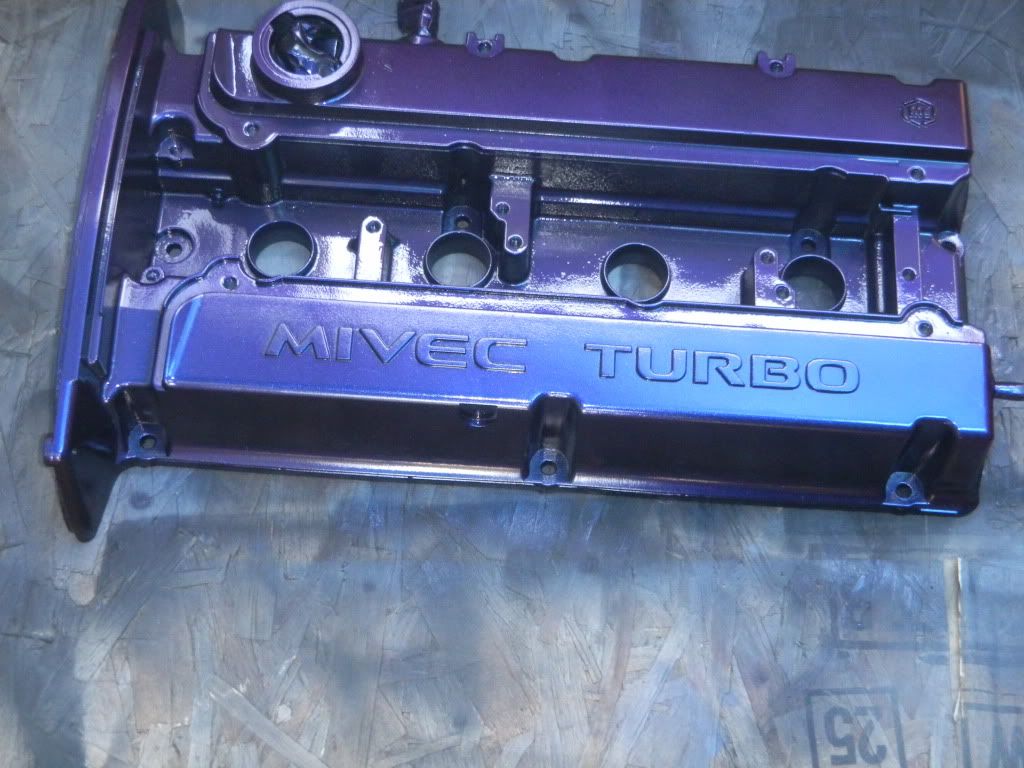
7. After the week has passed, it’s time to apply the paint. Since I’m using the Mirage paint, it involves 3 steps: the base coat, mid coat, and the top coat. The base coat is black. Apply it in thin even coats and let it dry for 30 minutes. Then apply the mid coat in the same manner. The more coats of the mid coat, the stronger the mirage. Make sure it all gets painted. Again, let it dry for 30 minutes. Finally apply the supplied top coat, which is the clear. Apply in the same manner as the other coats. Let it dry for about an hour.
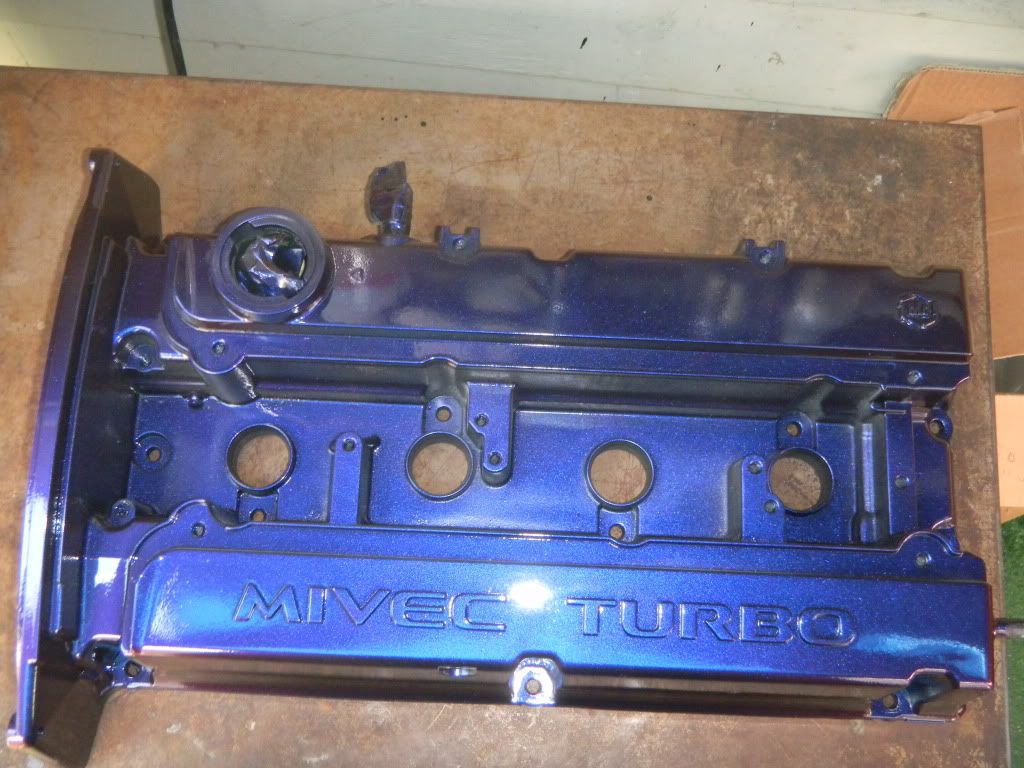
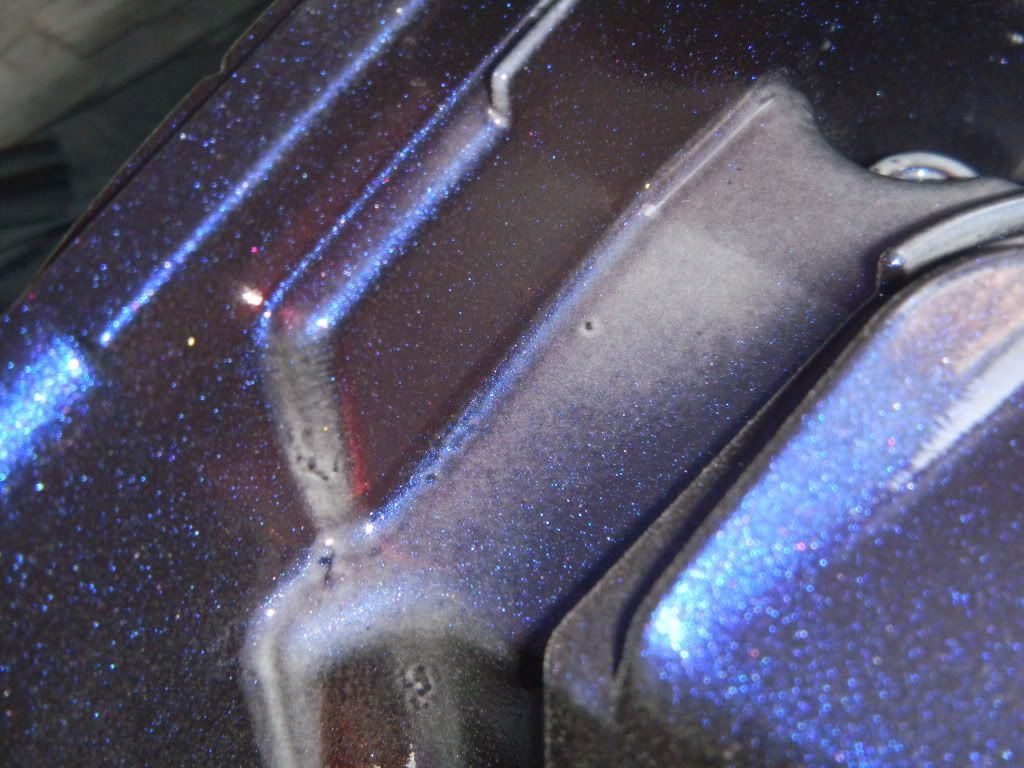
8. Finally apply the clear enamel. The steps for applying the clear enamel are the same as the primer: 10 minutes between coats, all within 1 hour, and let it dry for 7 days. When you apply the engine enamel, it becomes a bit milky as seen in the picture below, but don’t worry, it become absolutely clear and gives the valve cover and extraordinary shine. After it has dried for the 7 days, give it a wet-sand if necessary and a good polish.


 Reply With Quote


 sell to me!!!!


